owncast 라이브스트리밍 서버
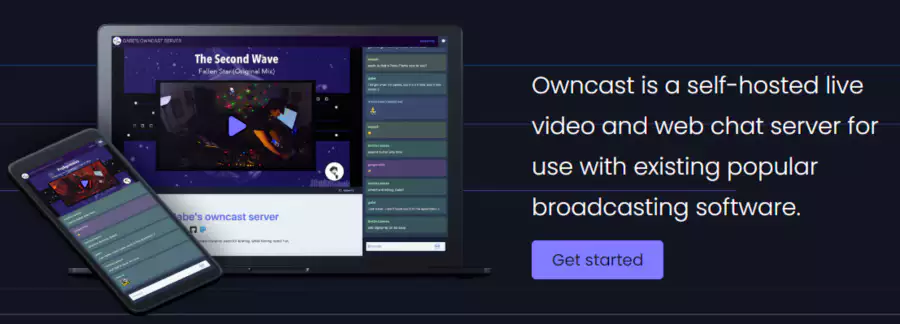
Owncast는 셀프호스팅으로 라이브스트리밍과 웹 채팅 서비스를 구축할 수 있는 오픈소스 이며 OBS와 같은 툴로 라이브 방송을 할 수 있다.
오라클 클라우드 인트턴스(Ubuntu 20.04 Free tier)에 Owncast를 설치하고 간단하게 동작을 테스트 해 본다.
Owncast Quickstart
Owncast는 인스톨 스크립트를 제공하고 curl로 간단하게 설치 가능한데 아래의 필수 유틸리티는 꼭 있어야 한다.
“curl”, “unzip”, “tar”, “which”
ubuntu@instance-20210116-0003:~$ curl -s https://owncast.online/install.sh | bash
Owncast Installer v0.0.6

Created directory  [✓]
Downloaded Owncast v0.0.6 for linux  [✓]

Success! Run owncast by changing to the owncast directory and run ./owncast.
The default port is 8080 and the default streaming key is abc123.
Visit https://owncast.online/docs/configuration/ to learn how to configure your new Owncast server.
Path에 ffmpeg이 없으면 owncast 디렉토리에 “4.3.1-static” 빌드가 다운로드 된다.
[opc@instance-20210115-1556 ~]$ curl -s https://owncast.online/install.sh | bash
Owncast Installer v0.0.6

Created directory  [✓]
Downloaded Owncast v0.0.6 for linux  [✓]
which: no ffmpeg in (/usr/local/bin:/usr/bin:/usr/local/sbin:/usr/sbin:/home/opc/.local/bin:/home/opc/bin)
Downloaded ffmpeg because it was not found on your system [✓]

Success! Run owncast by changing to the owncast directory and run ./owncast.
The default port is 8080 and the default streaming key is abc123.
Visit https://owncast.online/docs/configuration/ to learn how to configure your new Owncast server.
Owncast Starting
설치가 완료되면 owncast 디렉토리로 이동 후 ./owncast 바이너리를 실행한다.
RTMP 포트는 1935 웹서버 포트는 8080으로 초기 설정되어 있고 정상 실행되면 아래와 같이 포트 정보와 admin 인터페이스 경로를 알려준다.
ubuntu@instance-20210116-0003:~/owncast$ ./owncast
INFO[2021-04-16T22:12:40+09:00] Owncast v0.0.6-linux-64bit (36645437ef17f622c8926fc32a2bf2de27a6e8d7)
INFO[2021-04-16T22:12:43+09:00] RTMP is accepting inbound streams on port 1935.
INFO[2021-04-16T22:12:43+09:00] Web server is listening on port 8080.
INFO[2021-04-16T22:12:43+09:00] The web admin interface is available at /admin.
Owncast Admin Page
http://hostname:8080/admin 페이지에서 기본 설정을 확인할 수 있고 기본 패스워드는 “abc123” 이다.
0.0.5 버전은 config.yaml 설정파일이 있었는데 0.0.6 버전에서는 admin 페이지가 생겼다.
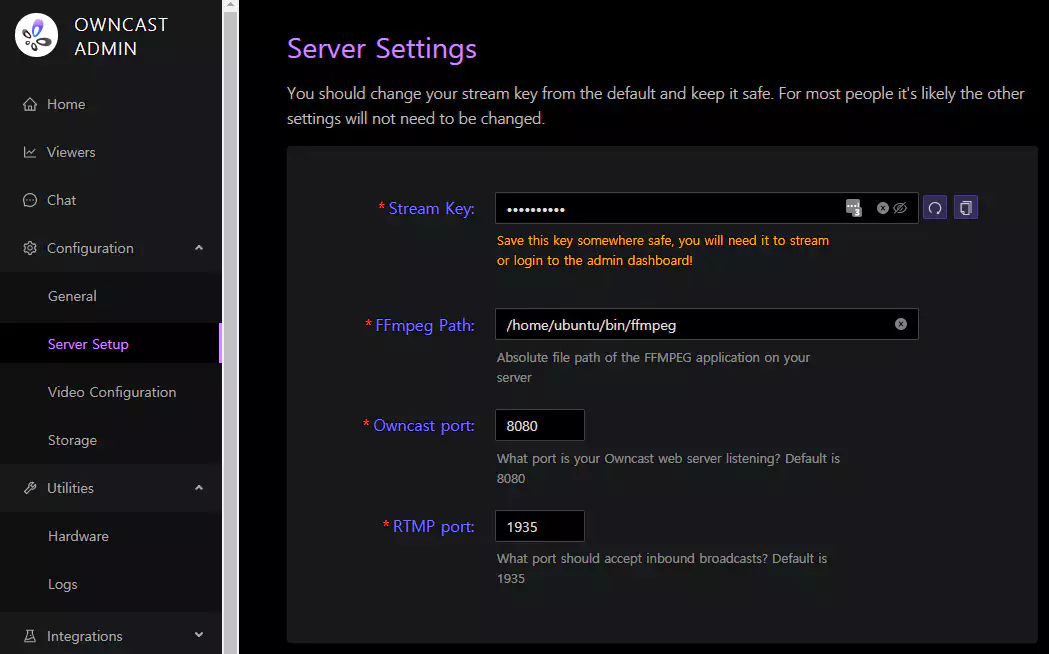
Configuration > Server Setup 메뉴에서 “Stream Key” 를 설정한다.
“Stream Key”는 admin 페이지 접속과 RTMP 스트림키로 사용되기 때문에 바꾸고 나머지 포트는 기본설정으로 둔다.
오라클 클라우드에서는 방화벽정책을 추가해야 한다.
Start Streaming
라이브방송을 RTMP 프로토콜을 이용하기 때문에 OBS를 이용해서 방송설정을 하고 PC의 화면을 송출해본다.
OBS 방송 설정은 아래와 같다.
OBS > 파일 > 설정 > 방송
- 서비스 : 사용자지정
- 서버 : rtmp://yourserver:1935/live/
- 스트림 키 : admin 페이지에서 변경한 “Stream Key”
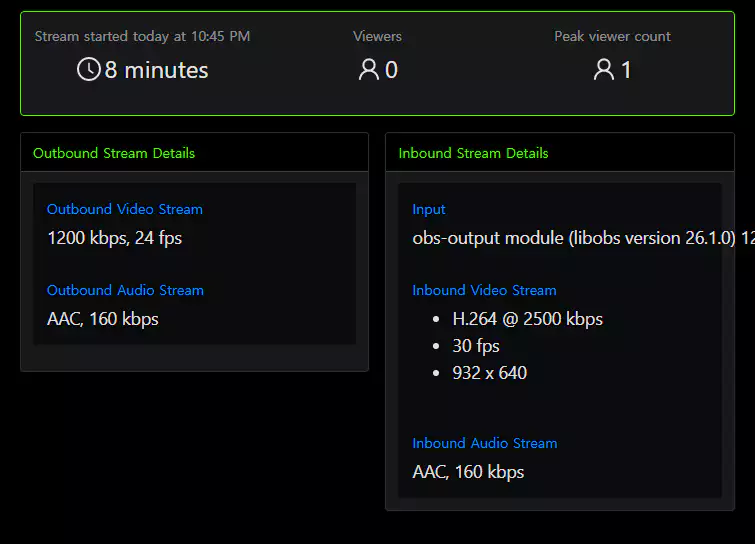
OBS 방송 시작 후 스트림이 Owncast 서버로 정상 스트리밍 되면 admin 페이지에서 아래처럼 스트림의 상태를 볼 수 있다.
Streaming Play and Chat
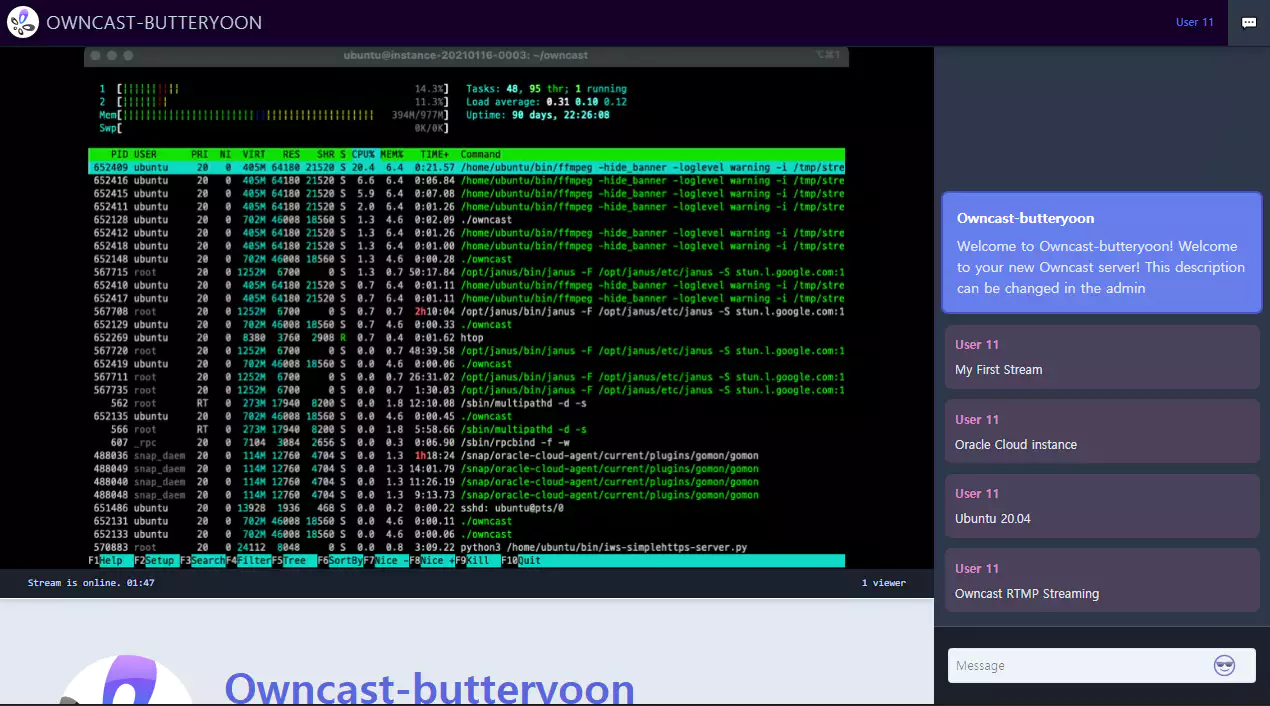
http://hostname:8080 으로 접속하면 아래처럼 영상플레이어에서 영상이 재생되고 오른쪽에서 채팅을 할 수 있다. 채팅 이력은 admin 페이지에서 확인 가능하다.
HTML 플레이어는 “video.js“를 쓰는거 같다.
Testing
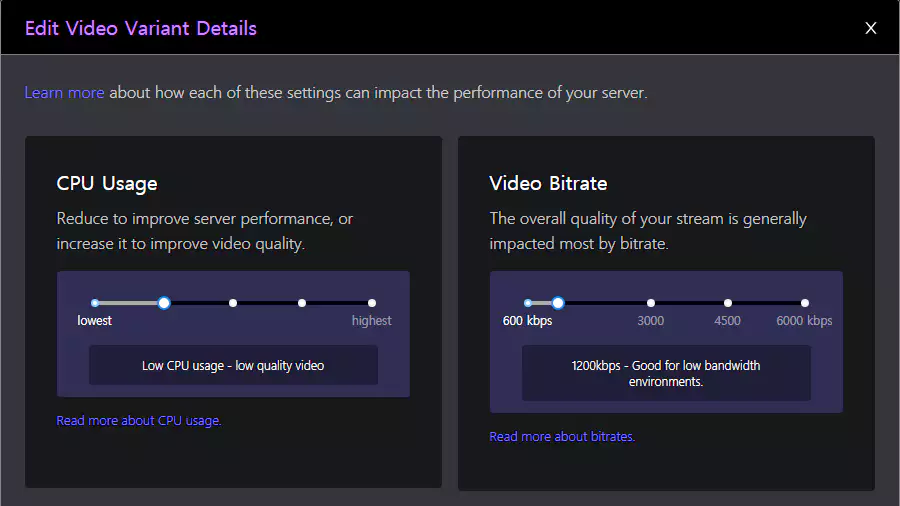
오라클 클라우드 프리티어 인스턴스에서 FullHD 해상도로 스트리밍을 하면 CPU Full 상태가 된다. 720p로 스트리밍하고 Owncast 어드민 페이지의 “Video Configuration”에서 “Stream output” 설정에서 “CPU Usage”를 Low로 설정하면 어느정도 테스트가 가능했다.
- VM.Standard.E2.1.Micro : Processor: AMD EPYC 7551. Base frequency 2.0 GHz, max boost frequency 3.0 GHz. Compute Shapes
- Owncast 트러블슈팅 가이드 문서를 참고한다.
| Processor | Base Frequency | Max Boost Frequency |
|---|---|---|
| AMD EPYC 7551 | 2.0 GHz | 3.0 GHz |
TL;DR
Owncast의 컨셉처럼 개인용도의 실시간 스트리밍 서버로 구축하기 적합한 걸로 보인다. 설치 및 설정도 간단하게 적용되고 S3 스토리지와 연동도 가능하다.
기본으로 제공되는 커스터마이징 기능과 WebHook 기능도 시간되면 확인 해보자.